Bridge TEFL
  Expert Series Webinars
  BridgeUniverse Blog
  TEFL Jobs
  Language Training
  About Bridge


You could plan a lesson to teach verb tenses by defining the tense, giving examples in sentences, and then passing out a worksheet for your students to practice. Old and reliable, but boring! Instruction in ESL simply must be more than perfunctory to fit into the 21st century. Using guided discovery for ESL is a way to achieve balance in the classroom. You want to teach language, after all, and language is so much more than knowledge of grammar rules and memorizing lists of vocabulary, right?
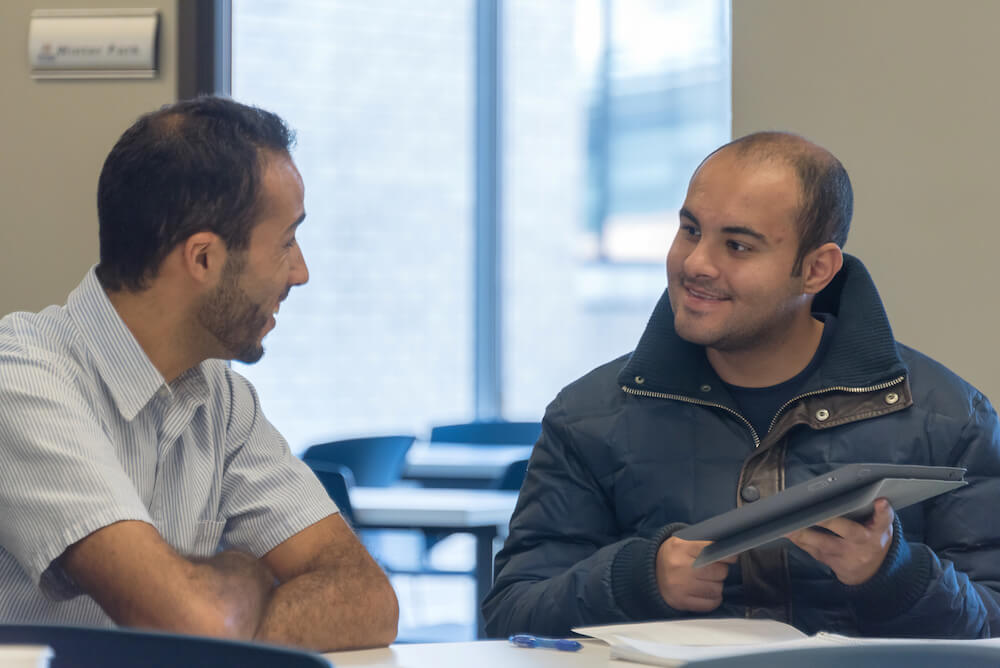
If you’re new to teaching, you’ll want to get initial training and qualification with a TEFL certificate. You can explore our online TEFL courses to get started!
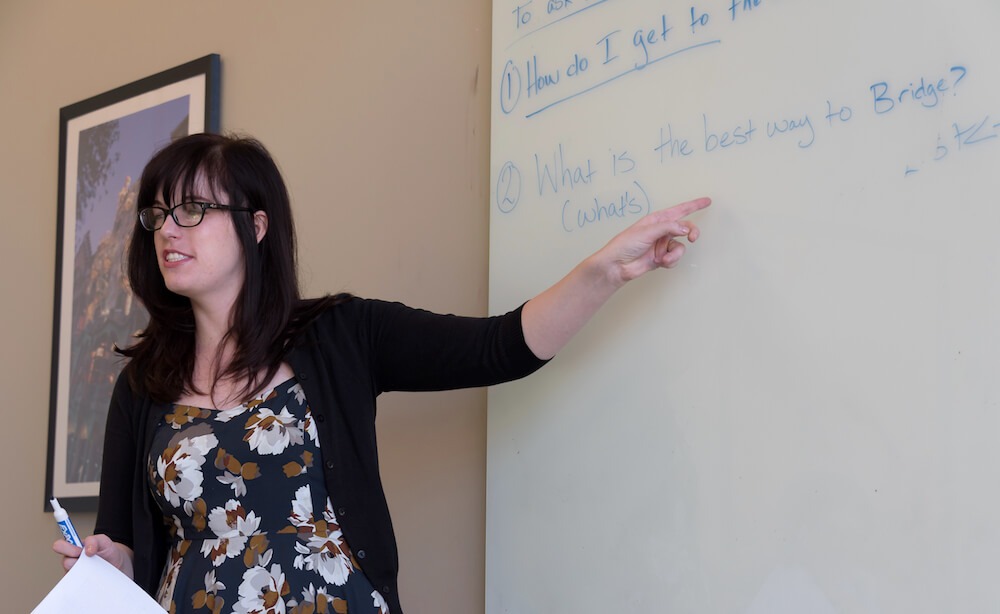
What are the advantages of using guided discovery for ESL?
The goal of all language teaching is, at its core, to facilitate communication and eventually allow the student to be an independent user of the language. Related to this is the concept of Communicative Competency. This concept is relevant in general in ESL, but especially when using the guided discovery method. It refers to students having both the knowledge of the language and the ability to use it real-life situations in order to communicate.
The guided discovery approach has the advantage of teaching your students language in a way that allows them to remember it and understand its relationship to other language and background knowledge they already have. Then they can use it autonomously and in unique situations. Communication!
What does guided discovery for ESL mean? What does it emphasize?
Guided Discovery, also called the inductive method, is an approach that removes you, the teacher, from the main role of “explainer” and extends to the students the opportunity to question and discover the target language. When they have done that, they can then construct their own system of what it means and how it is used, better solidifying the language in their minds for later recollection. This method emphasizes collaboration between students and good scaffolding from the teacher to produce the most independence from students.
How does the guided discovery method work?
For this concept to work, you have to create materials and a setting that places the target language in a context that is relevant and interesting enough for the students to care about. When a student’s interest is piqued, they have a task to accomplish that can only be done by actively engaging with the language. Puzzles, codes, and narratives can all be used to achieve this end.
When you start with the whole language (e.g. present passive) and the students have to discover the language and how it works (i.e. the rules, the standards, the exceptions, etc.), you are incorporating a top-down approach to language inquiry.
What are the four main elements of a guided discovery lesson plan?
For our purposes, there are four essential elements of a guided discovery lesson plan:
- Collaboration
- Task Setting
- Monitoring
- Consolidation
Collaboration
Start out with having a great ESL classroom routine. You must establish that students are expected to talk to one another in English and that they are expected to collaborate. This does take some time to build, but having students work with others always, even if they don’t want to, will help to create the communication that we need for this approach to work.
Get ideas for routines to use in classes of kids in this related article: ESL Classroom Management Routines for Teaching Young Learners.
Task Setting
Set the task for the students. This is where your skill in scaffolding a lesson is key. Put key phrases on the board for students to use, but don’t tell them what they mean or how they are used. Show an open-ended question and steps for exploring it. Tell the first part of a story and leave the next part of it open to interpretation. Introduce a “crime” and tell the students to use a worksheet to discover whodunit.
Make sure that you don’t tip your hand at all, and keep your face neutral so that they really have to think about the task. One way to ensure collaboration is to use small groups or pairs to make each student participate as much as possible.
Monitoring
While they are engaged in the task, you take on the role of “monitor,” remaining outside the activity until you are needed (for example, if communication breaks down). If you have set up the activity well, students will work toward the goal while relying on each other for practice and to get feedback.
Consolidation
At the end of the task, you should bring the class back together and check their work. This is the time to check for common errors and correct them (it’s okay to be more of an explainer here, now that the students have discovered how to use the language). Use questions to help the students discover further information about the target language and share it with the group.
What is an example of an ESL guided discovery grammar lesson plan?
Example of a simple sequence using the guided discovery method
Have students read a brief, interesting news article. Give them a graphic organizer (a visual display that demonstrates relationships between facts, concepts or ideas) with four sections labeled:
present | past | future | I don’t know
After reading the article for comprehension, students must work collaboratively to organize all verbs from the article into the categories on the graphic organizer. Consider not allowing them to use grammar references for at least part of the task time, to increase their cognitive processing.
When they’re done, have each group list three things they notice about the verbs in each category. Share the lists. While monitoring, you will clearly see problems students are having. After addressing all comments and questions, you can dive into direct instruction in order to differentiate between the forms they found, by explicitly teaching each form.
Additional example of a guided discovery lesson plan
Many English courses incorporate vocabulary lessons into the curriculum, which means that you’ll occasionally see a list of new vocabulary that students have to recognize and use within the course of a single lesson. Surely you can only do this through rote memorization of lists, right? Nope. You can use a guided discovery vocabulary sequence to help the students remember the new words!
Say you have a list of target words (eat, banana, fruit, apple, vegetable). You want the students to discover the words on their own without revealing them or simply drilling the vocabulary.
Step 1: You can break up the words into their constituent parts and then display them on the whiteboard or a PowerPoint. In small groups, allow the students to try to form as many words as they can from the parts on the board.
The point of this first step is NOT for them to get all the words. It’s to make them think about the letters and words they may already know for at least three minutes.
Step 2: Using a PPT or erasing the first setup, display the same words in “scrambled” form (move the letters but keep the words themselves together): tea, naanab, tufri, papel, geevbatel.
Give additional time for the students to try to unscramble the words. By this time, hopefully they get more words since the scrambled words are easier than individual letters. (This skill is commonly needed for tests.)
Step 3: Reveal the words by writing them on the board or using a PPT and ask the students to draw a picture of what each means. Give three minutes for this task in small groups.
Step 4: Finally, display the pictures and have students look at them to decide if the drawings are right with little teacher input. They should look at their own drawings and those of other groups.
Optional: You could add an additional step where the students must decide which words are nouns, verbs, or adjectives. This helps connect it to grammar for later use.
(The guided discovery lesson plan above takes about 30-35 minutes.)
What is the role of teachers in guided discovery activities?
Now you’re not just teaching grammar rules; you’ve used a guided discovery for ESL to help students see the connection between grammar concepts they already know, and build on those connections in a proactive, communicative way. Your role as a teacher in the guided discovery paradigm is to seek to remove yourself from the conversation as much as is appropriate and to provide the framework for the students’ success.